I Built My Own Headphones from Scratch – Badger Sound Forge DIY on Bambu Lab
How It Started
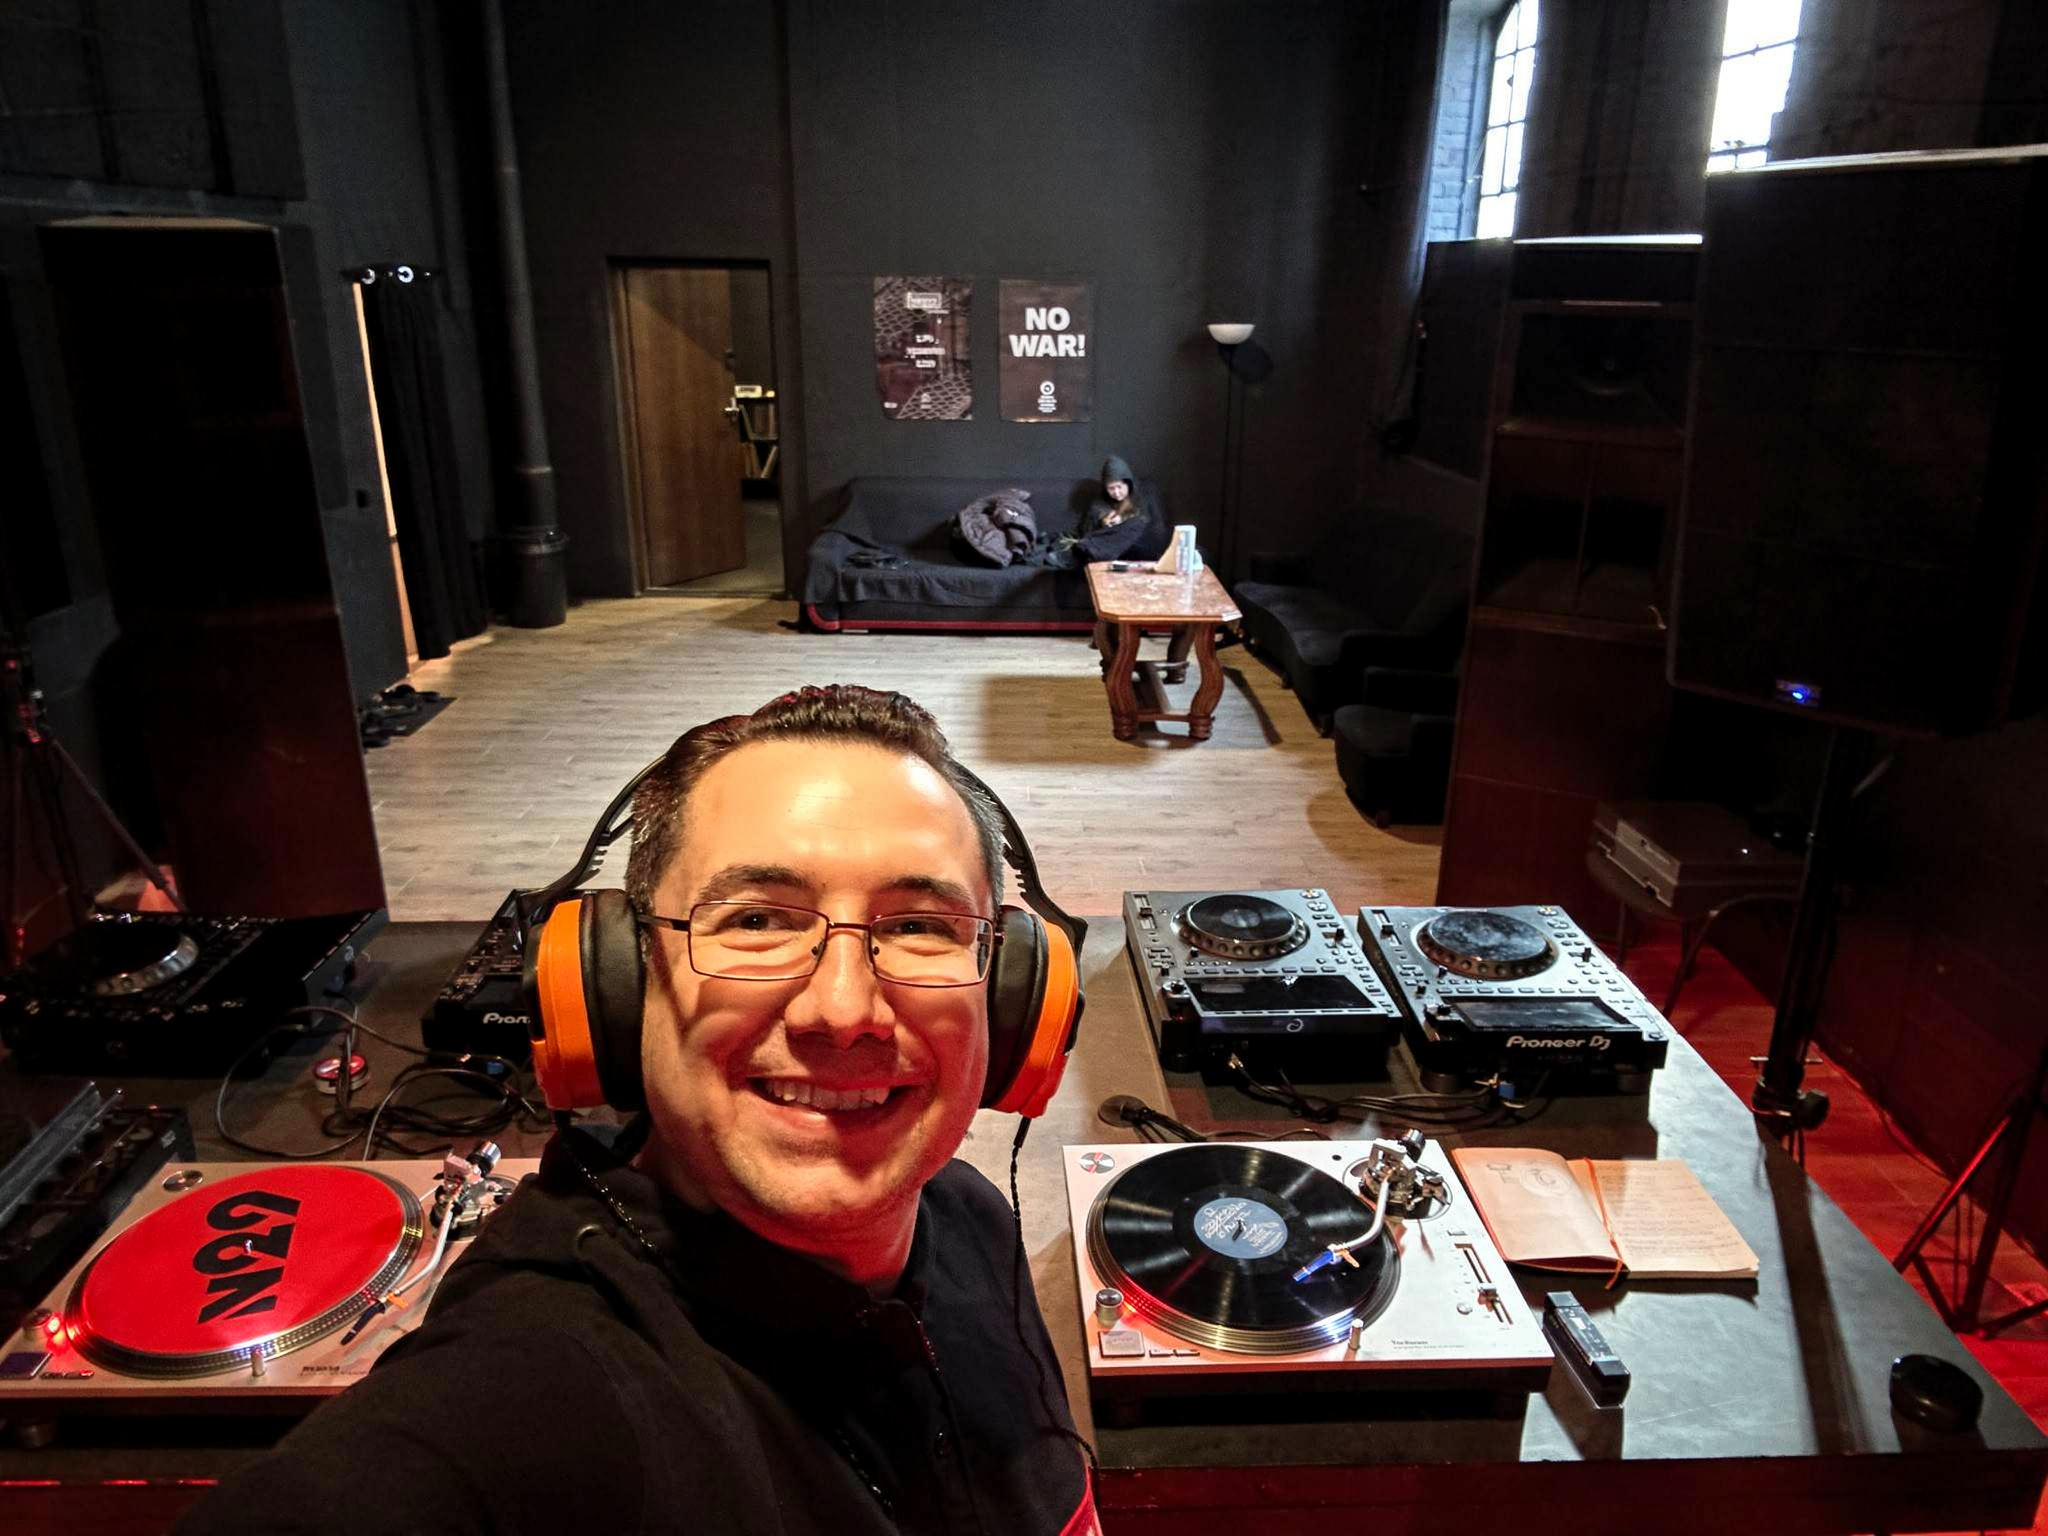
My name is Olek and I've been listening to music on vinyl for years. Good sound isn't a hobby for me – it's just how I spend my evenings. The problem showed up with headphones: off-the-shelf wireless models never gave me what I was looking for. The sound was flat, and after extended listening my ears would start to hurt.
I started looking for an alternative and reached out to a friend at Badger Sound Forge – someone with deep knowledge of acoustics and extensive experience in 3D modelling. The idea was simple: design headphones from scratch that would sound the way they should and be comfortable to wear for hours.
What was meant to be a quick project turned into a months-long marathon. Dozens of prototypes, hundreds of hours of modelling, printing and listening tests – each iteration improved something different: acoustics, fit, hinge durability, headband pressure distribution. The project went into the bin and started over as many times as it needed to. Only when both of us were genuinely satisfied with both the sound and the comfort did it get its name – Badger Sound Forge – and go into production.
3D-printed enclosures, audiophile-grade components, and full freedom to choose your filament colour to match your mood. We're happy to share this project with the community.
Below I walk through the entire process step by step – from the STL file to finished headphones on my ears.
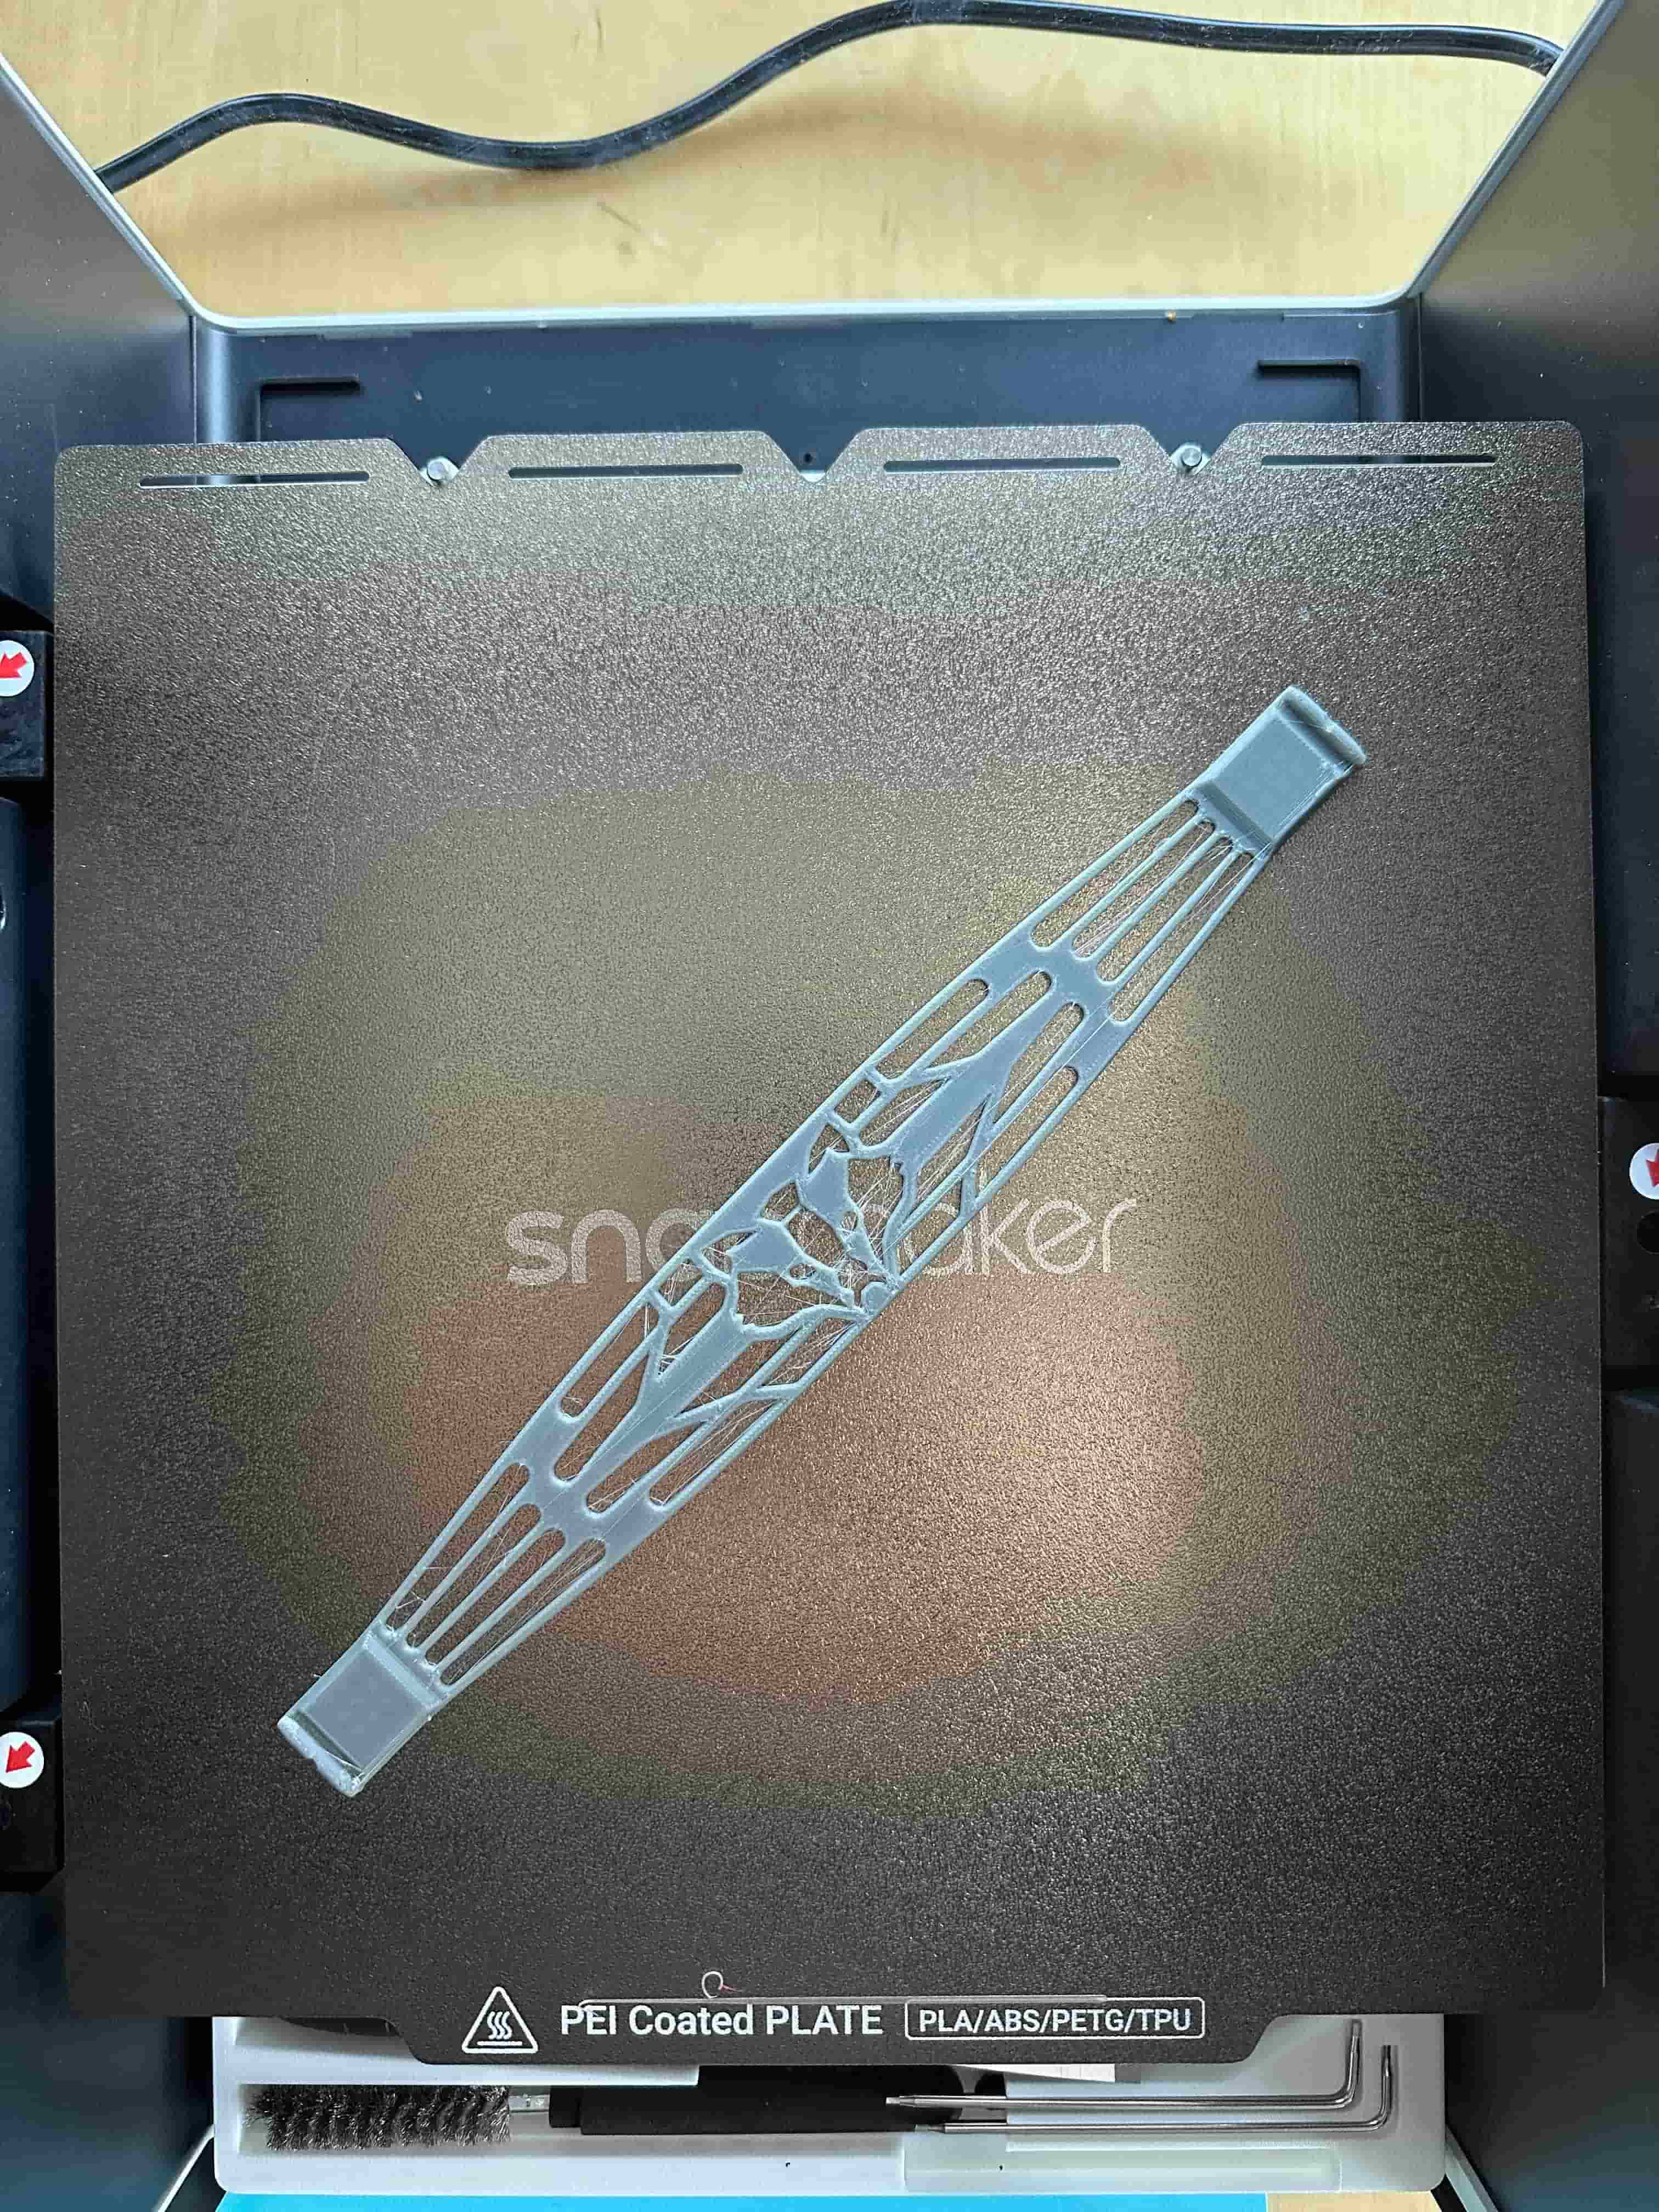
Printing the Enclosure – Material and Settings
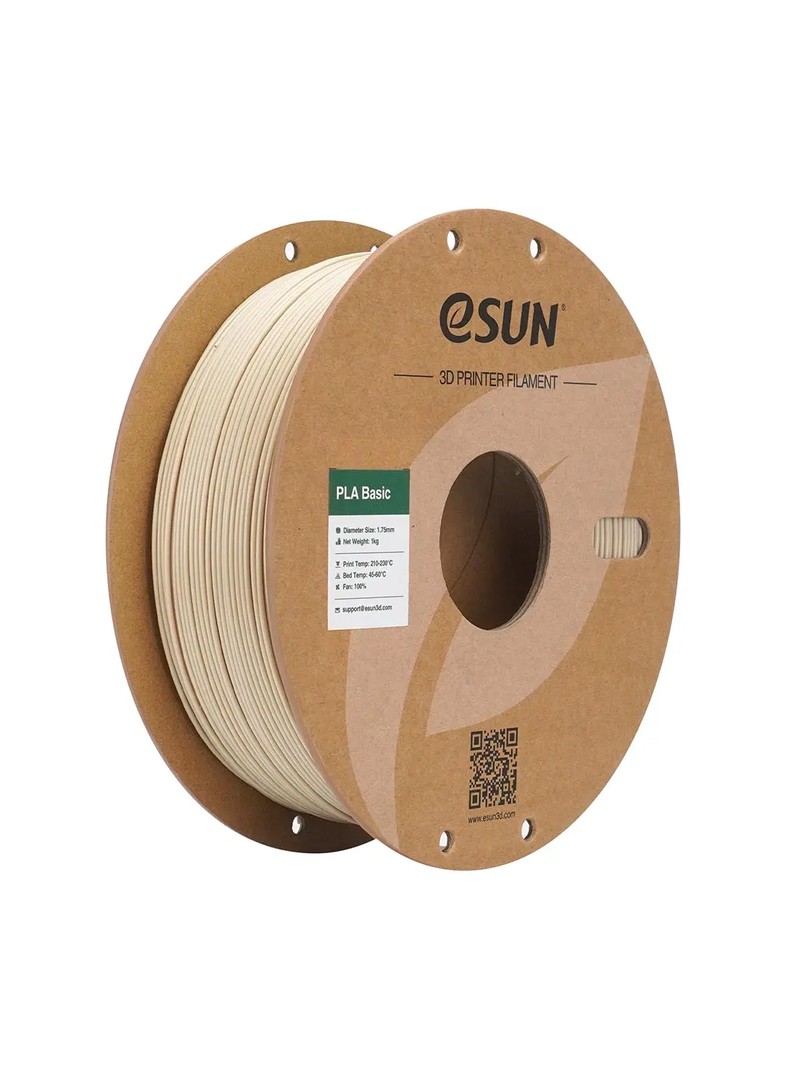
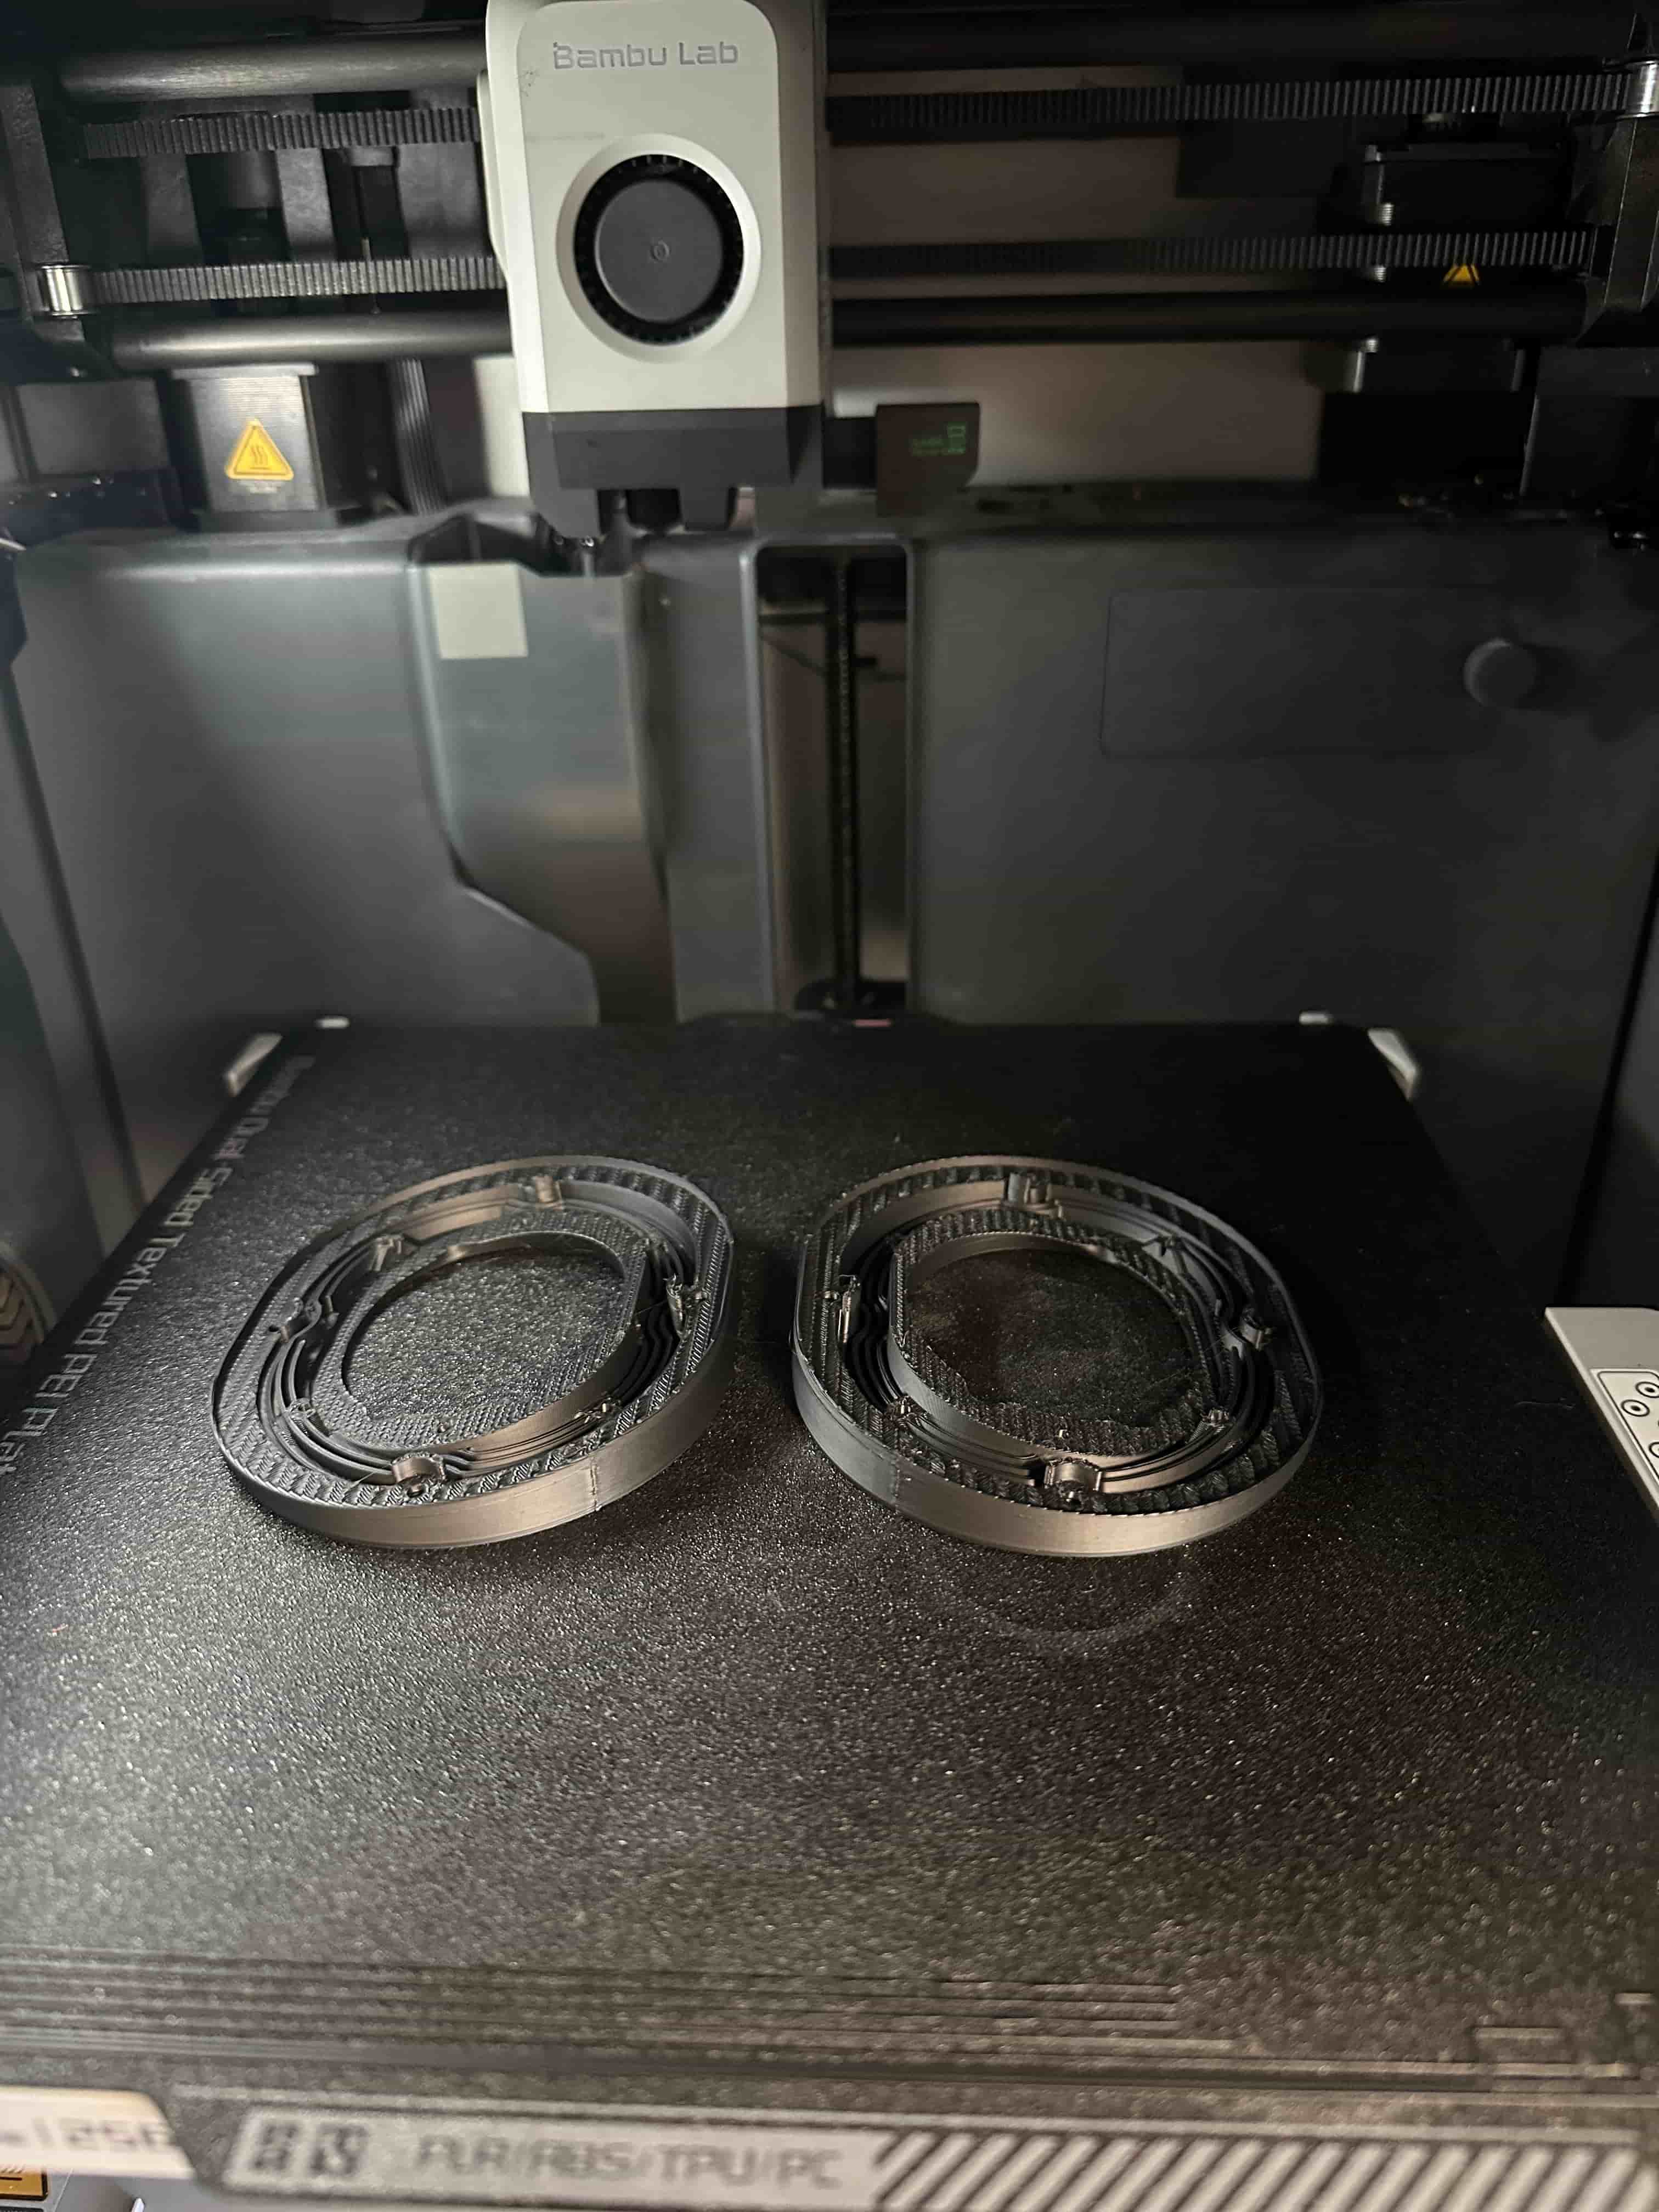
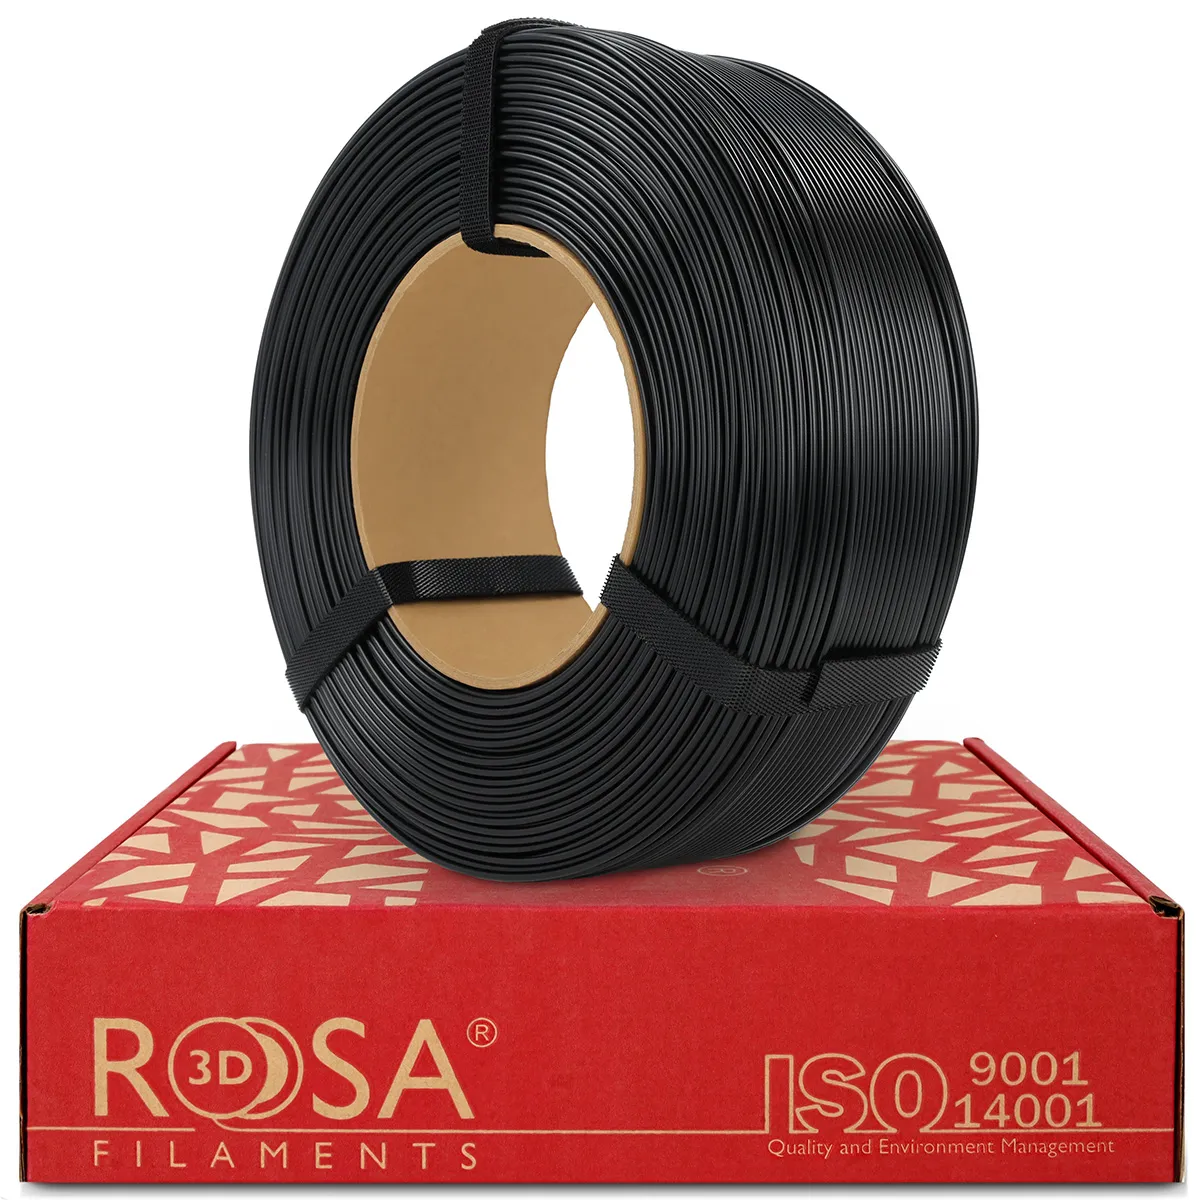
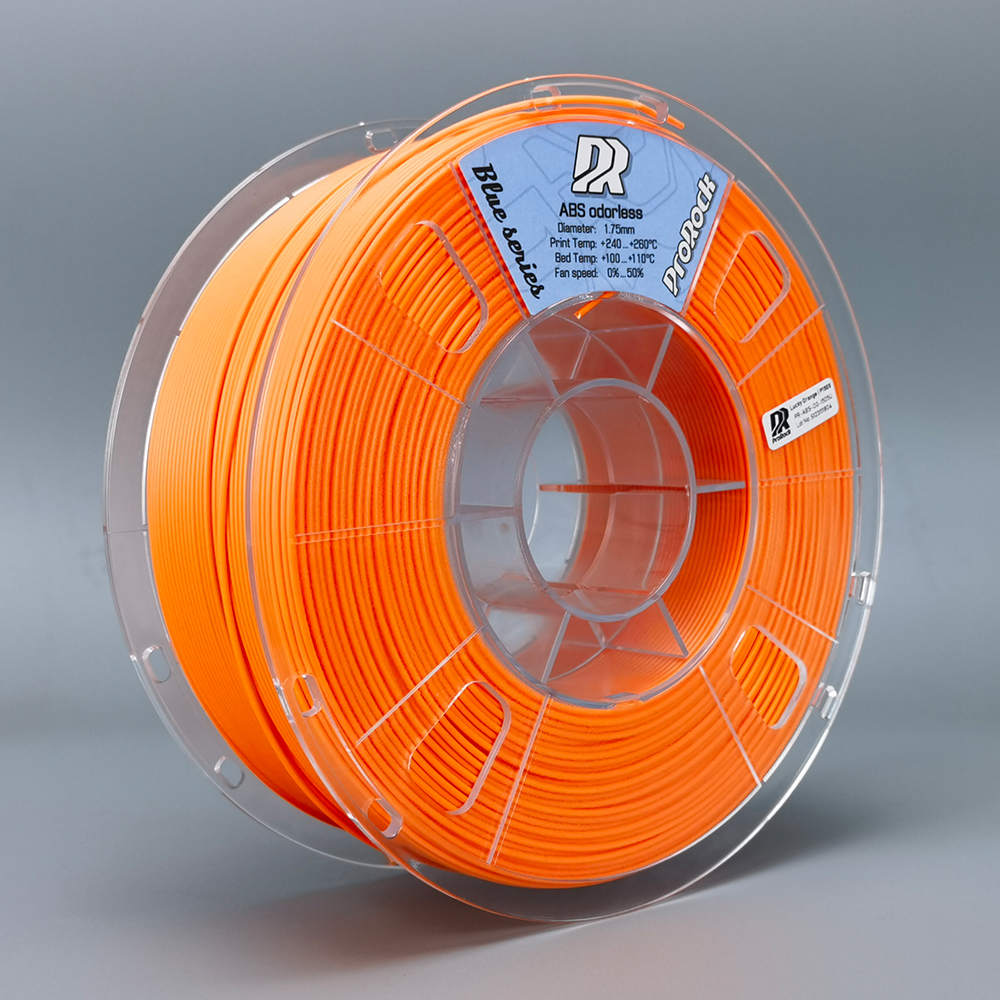
I printed on a Bambu Lab X1C with ABS filament. Material choice matters here – the design has hinges and moving headband elements, and with PLA they would simply be too rigid and prone to cracking with regular use. ABS gives the right flexibility. I printed the enclosure in two colours: black (ROSA3D ABS+ Matt Black) and orange (ProRock ABS Odorless Orange) – each part separately, then assembled together.
On the Bambu Lab X1C, ABS printed without issues – the heated chamber did its job. The one thing worth paying attention to is part orientation during printing, since that determines hinge strength. The STL files indicate how to position each part.
TPU parts (acoustic gaskets) I test-printed on the new Snapmaker U1 – it handled them well. The Bambu Lab X1C handles TPU equally well, so there's no need for a separate printer.
STL files and full documentation are available after placing an order for the component kit.
Tools Needed for Assembly
Before assembly I prepared:
- Soldering iron – for seating threaded inserts and driver connections
- Phillips screwdriver and 2.5 mm hex key
- Tweezers – useful for routing cables inside the cups
- Metal ruler – to check insert depth (the manual specifies 0.5 mm proud of the surface)
- Scissors – for the cotton pads; you need to cut an opening using the driver holder as a template
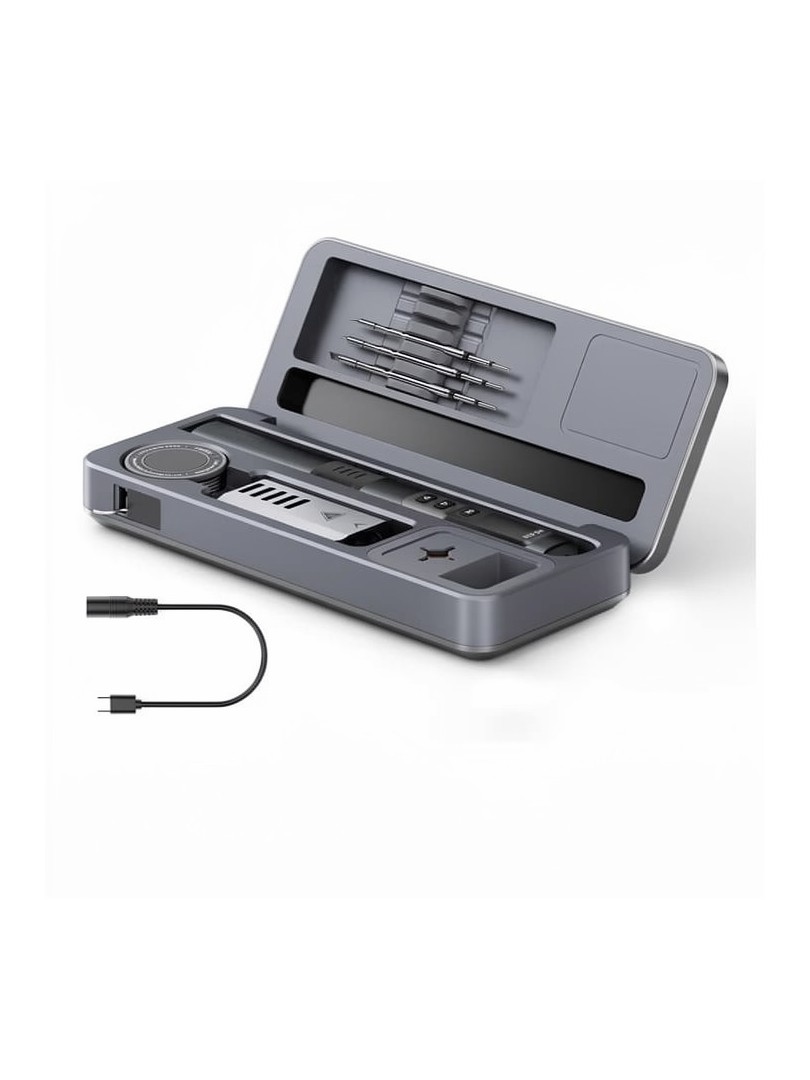
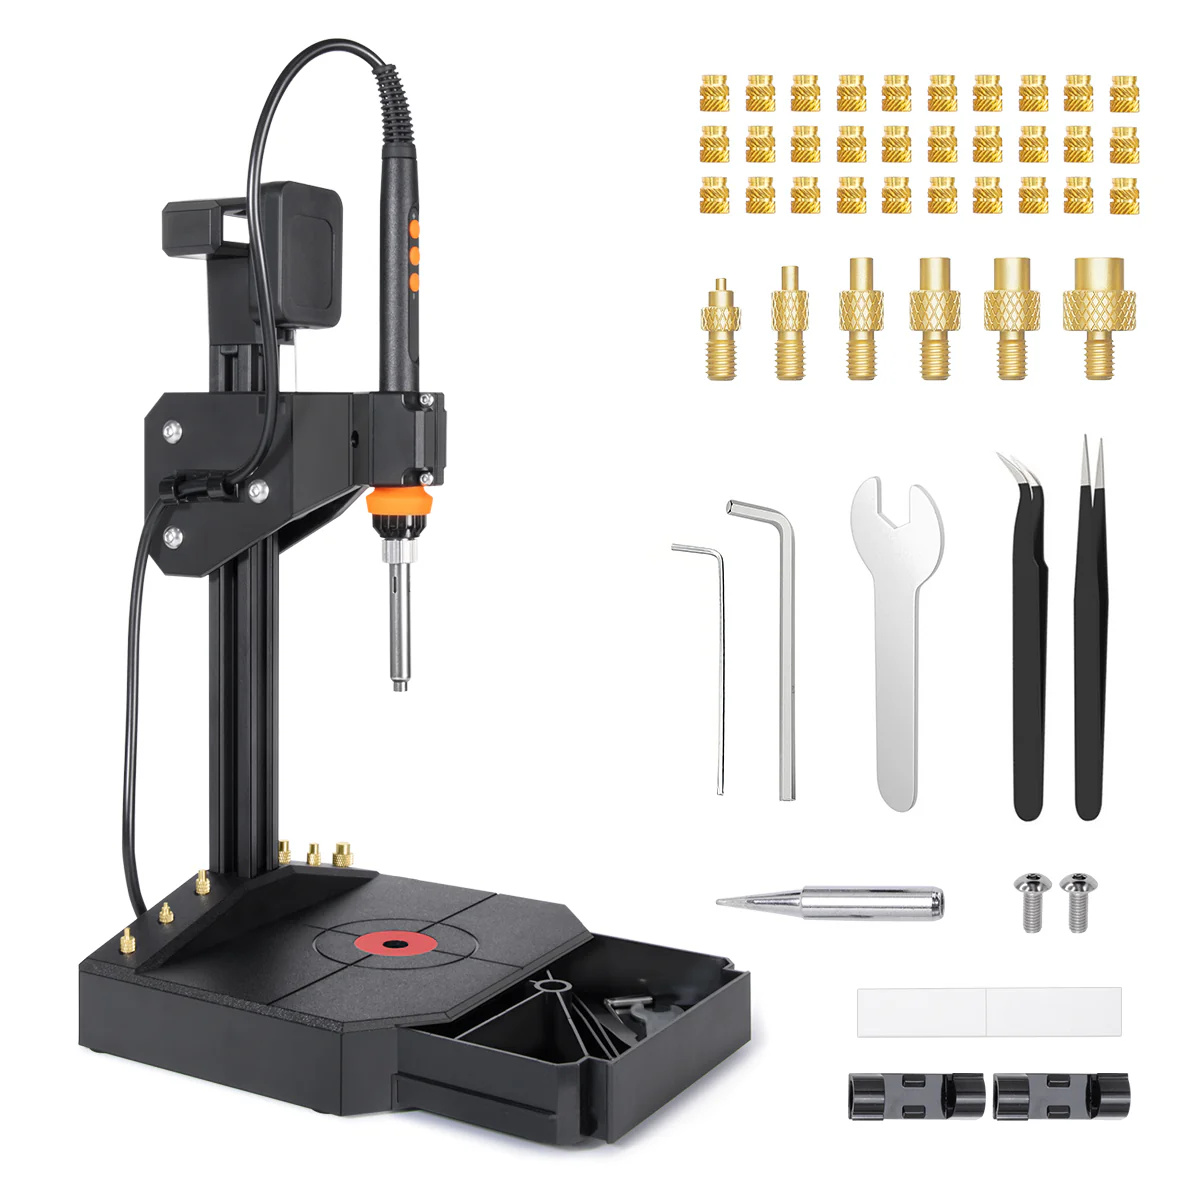
- Mintion NutoPress – heat insert press kit, optional but makes seating inserts straight and consistent without risk of overheating the plastic
View in store →
Assembly Step by Step
The manual included with the kit is illustrated and genuinely easy to follow – 23 steps with technical drawings showing every component. I won't rewrite it here, but a few steps that needed a moment of attention:
Soldering the Driver Connections
The blue wire goes to pin 1 of the connector (negative), silver to pin 2 (positive). Pins vary in labelling between batches, but the negative connector is slightly wider than the others – that's how you identify it.
Fitting the TPU Gasket
The design includes parts in flexible TPU – printed separately and used as acoustic seals between the cup halves. Make sure the seam on the gasket is positioned as indicated in the manual.
Assembling the Cups
I tighten the M2.3×8 mm screws gradually – not driving one down fully before moving to the next. The manual recommends going around two to three times. ABS is hard enough that you don't need to worry about splitting it, but gradual tightening gives a better end result.
A Personal Touch – ProRock Aluminium Screws
The standard black carbon steel screws work fine, but I didn't want the headphones to look like every other printed project. I replaced them with red anodised aluminium screws from ProRock's 7075 series – aerospace alloy, lighter and harder than the common 6061.
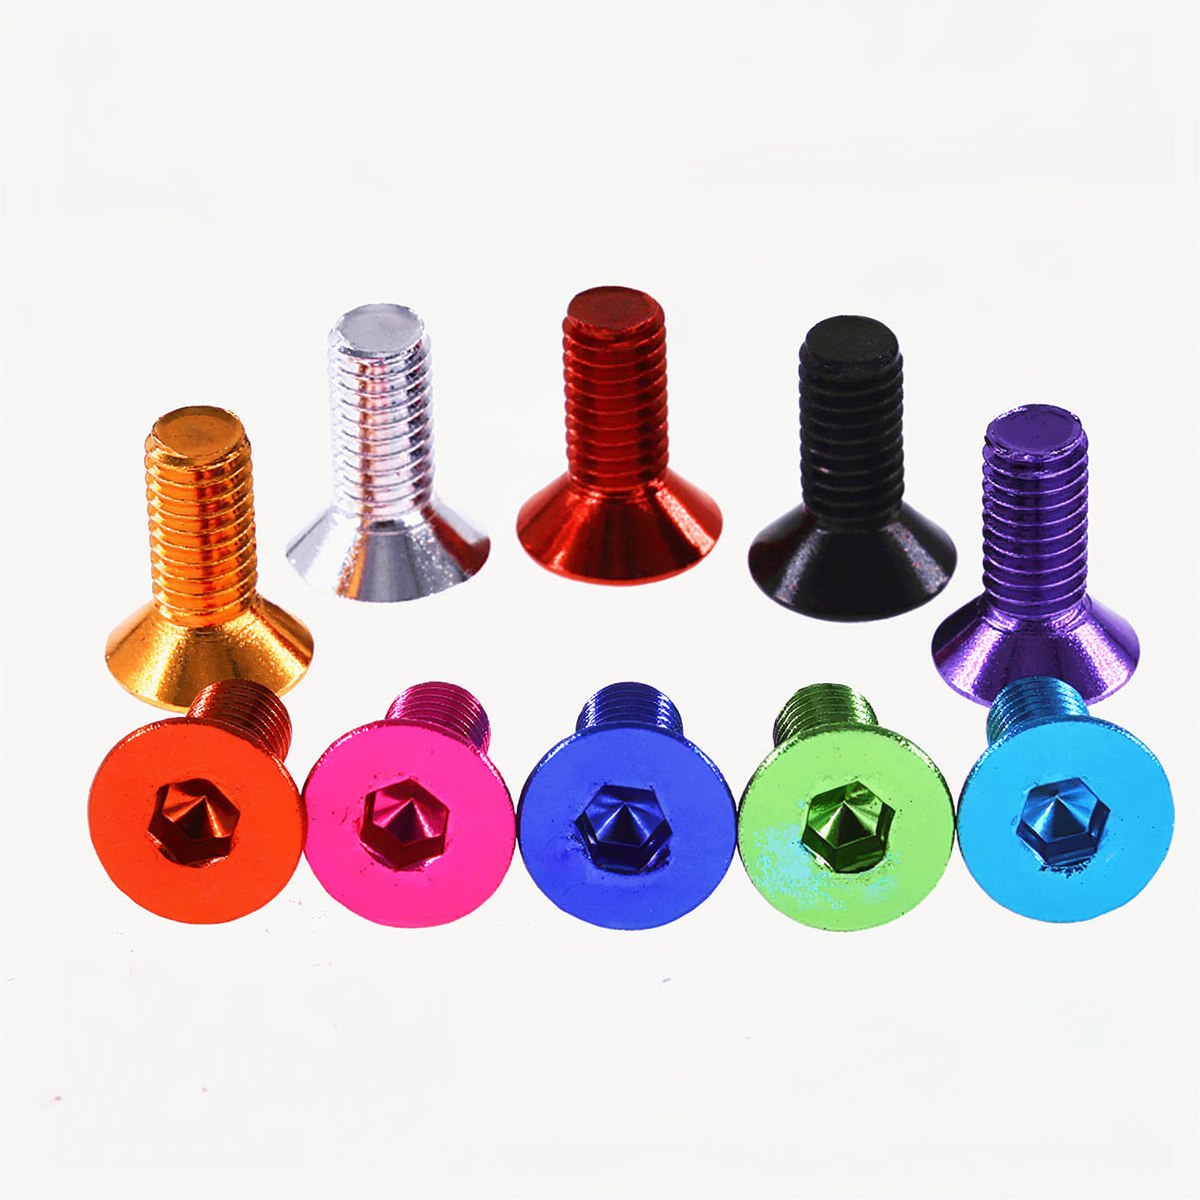
- Cup screws – ProRock LR-CSH-7075 M3×6 mm
View in store → - Horn screws – ProRock LR-CSH-7075 M3×10 mm
View in store →
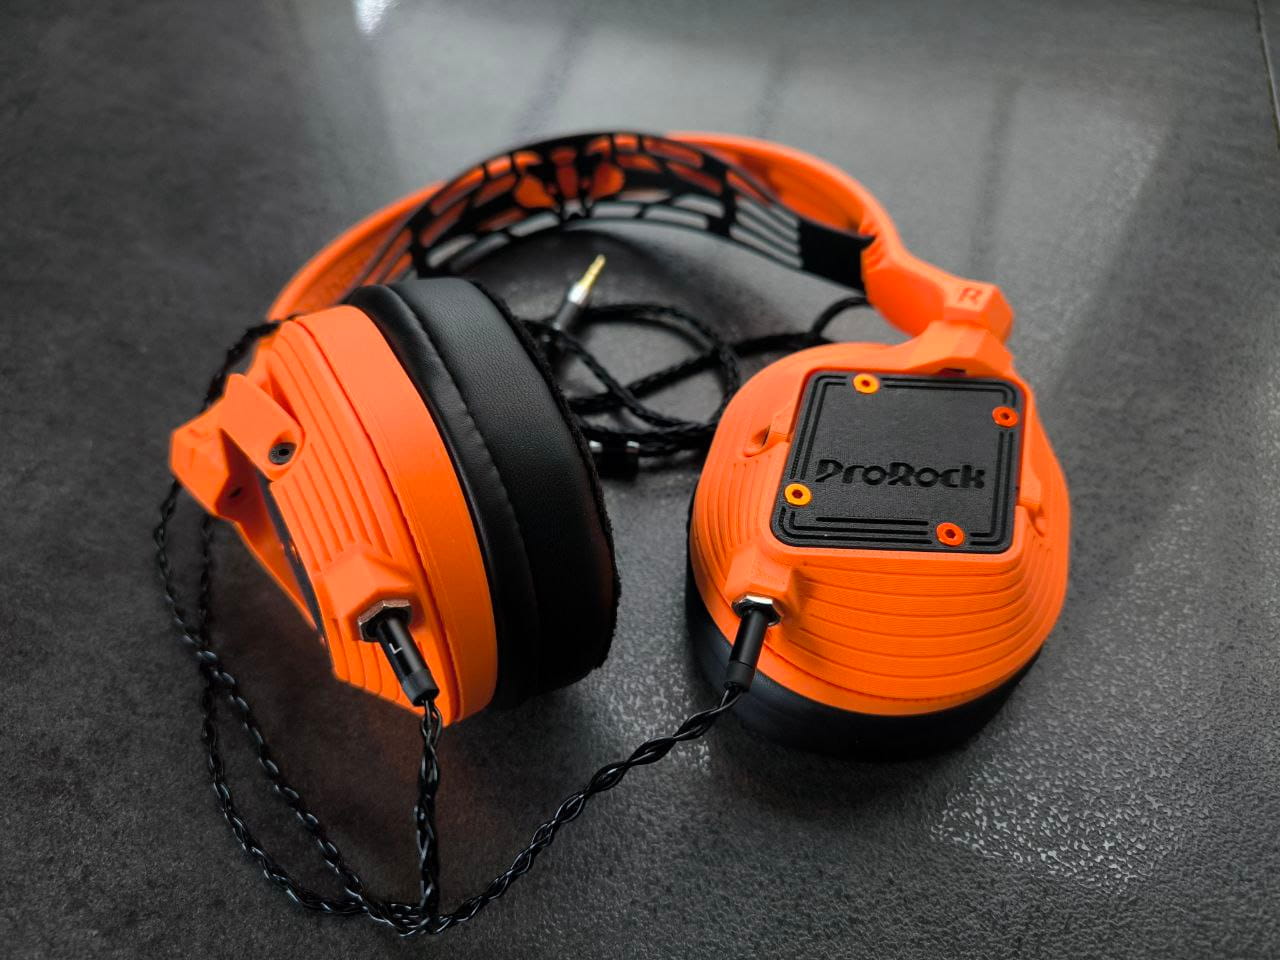
Sound Impressions After Assembly
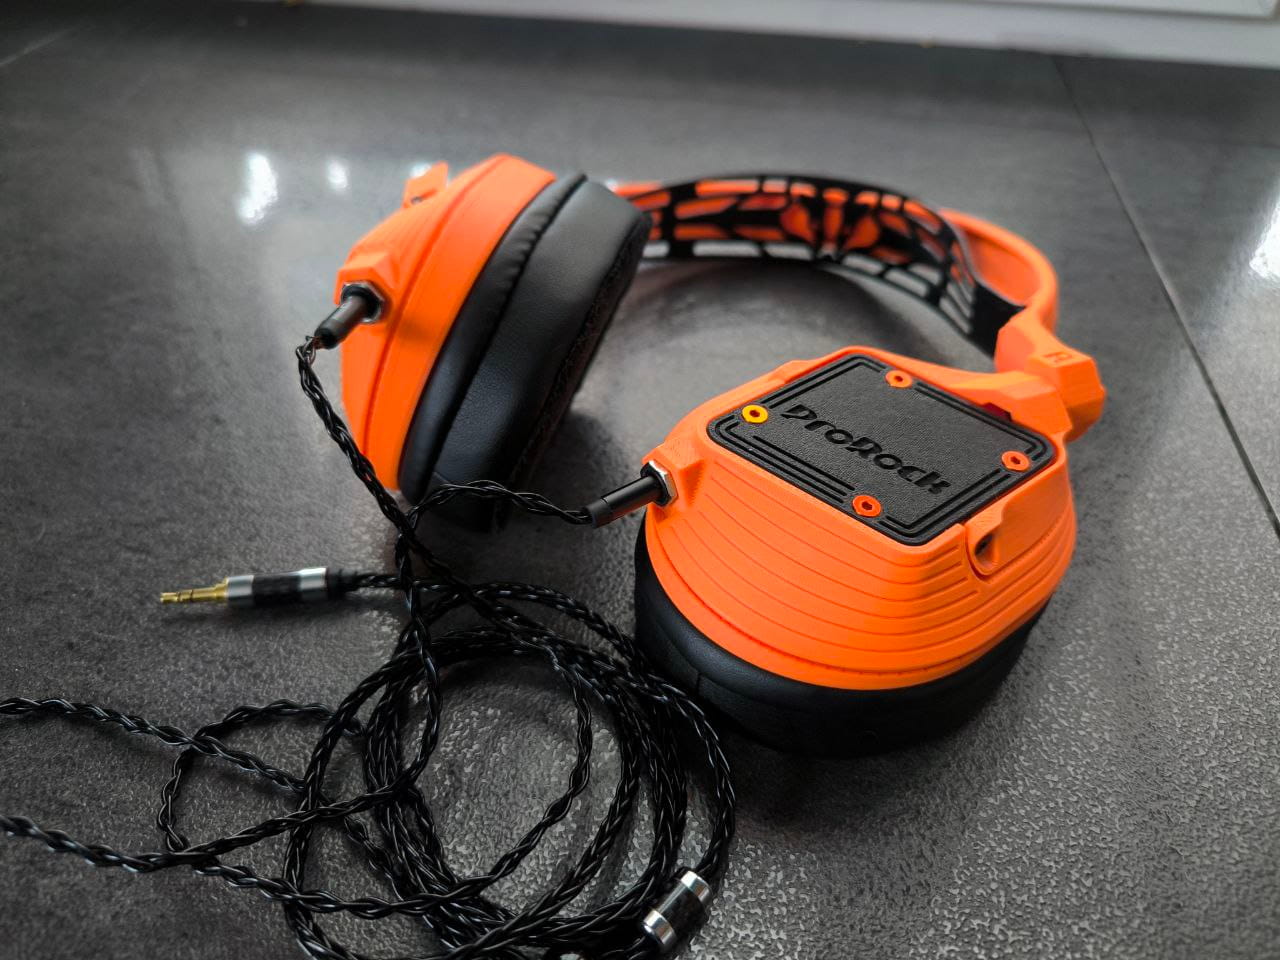
The Peerless 50 mm drivers need some break-in time – the manual mentions around 25 hours of use before they reach their full character. After that, the sound opens up noticeably, particularly in the mids and upper range.
These are closed-back headphones, so isolation from the environment is solid. Bass is present and controlled, without excess – typical for dynamic drivers of this class in a sealed enclosure. For a set built by hand with a printed enclosure, the result is genuinely satisfying.
Materials and Tools Used
Below is everything I used for printing and assembly. Most items are available at altway.pl.
3D Printing

Soldering
 Mintion NutoPress – Heat Insert Press KitOptional, makes seating inserts straight and consistentView →
- Solder wireAny from altway.pl selectionBrowse →
- Flux 45 gView →
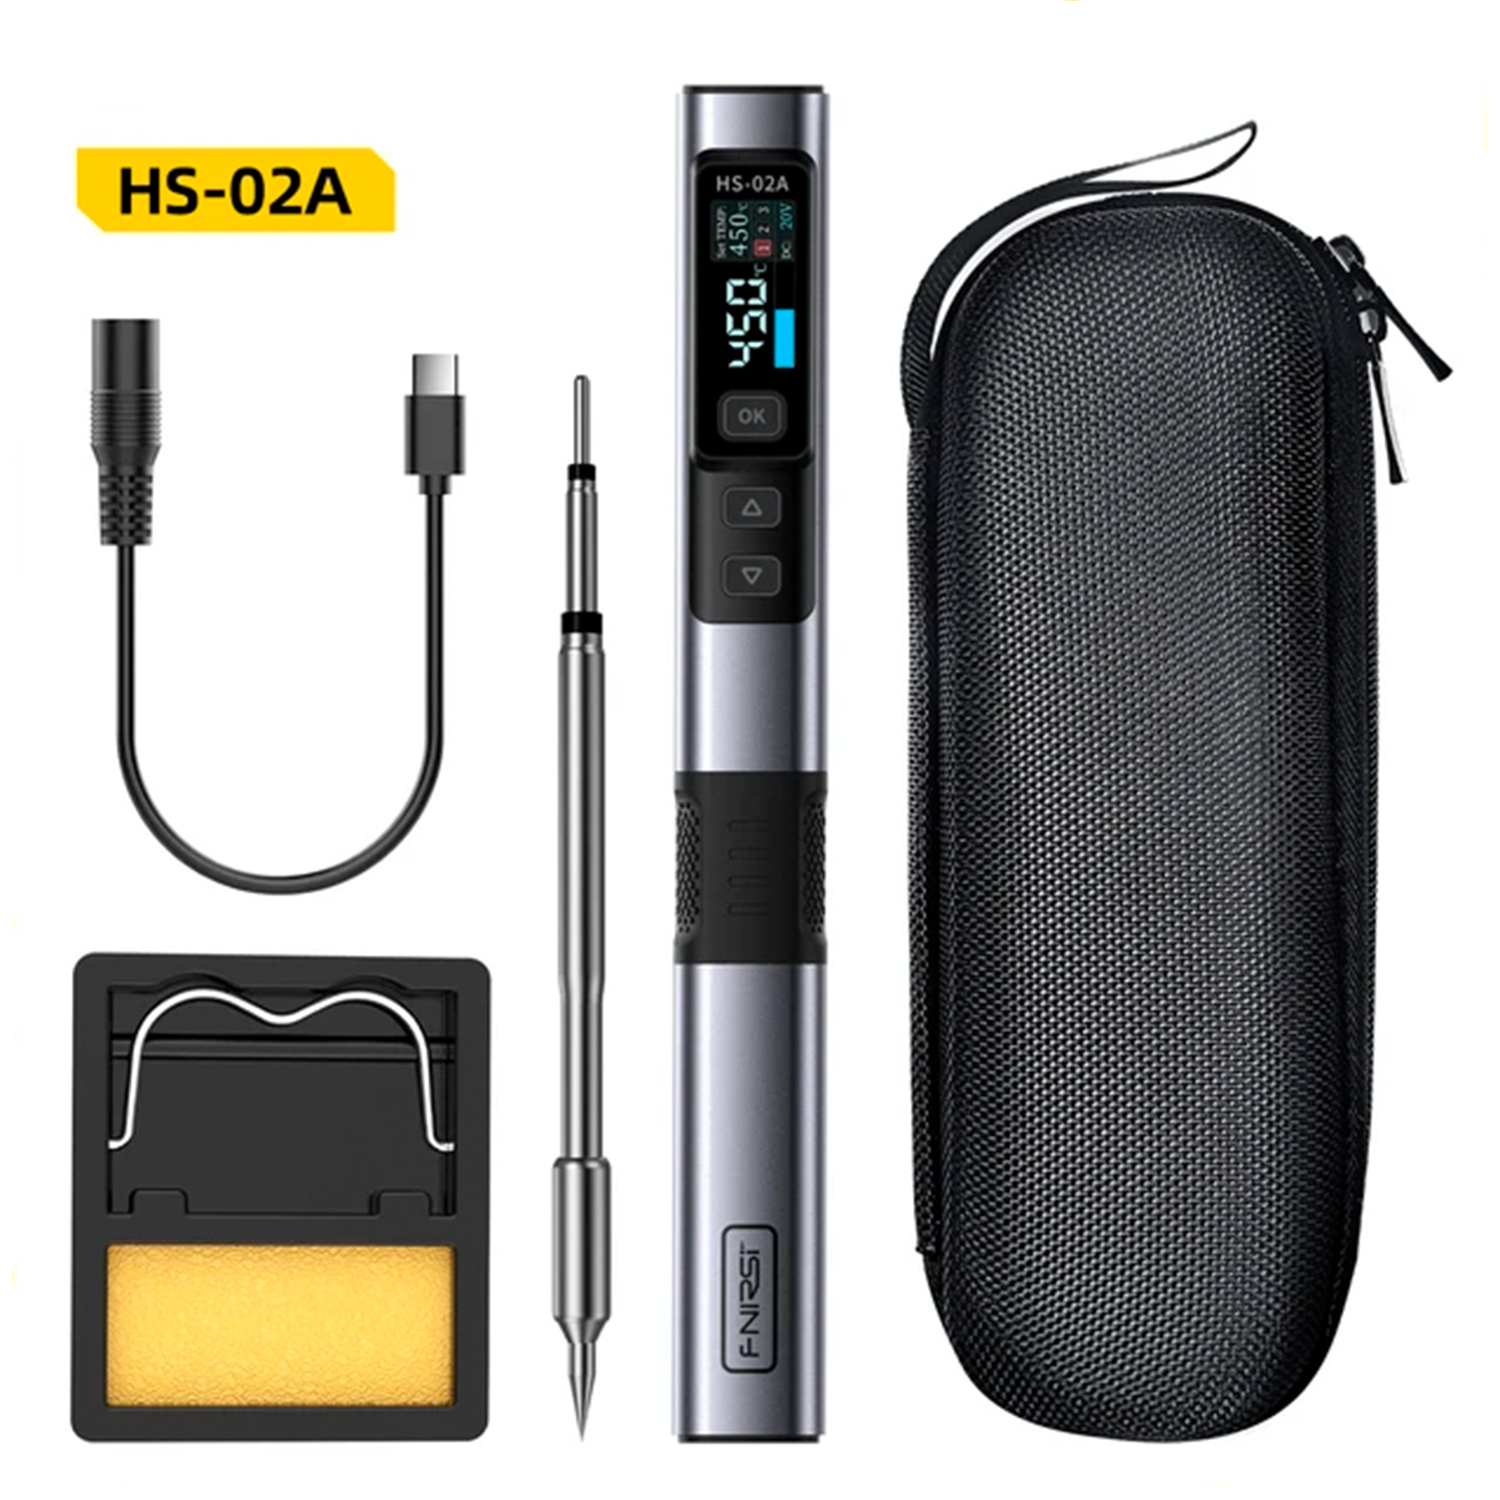
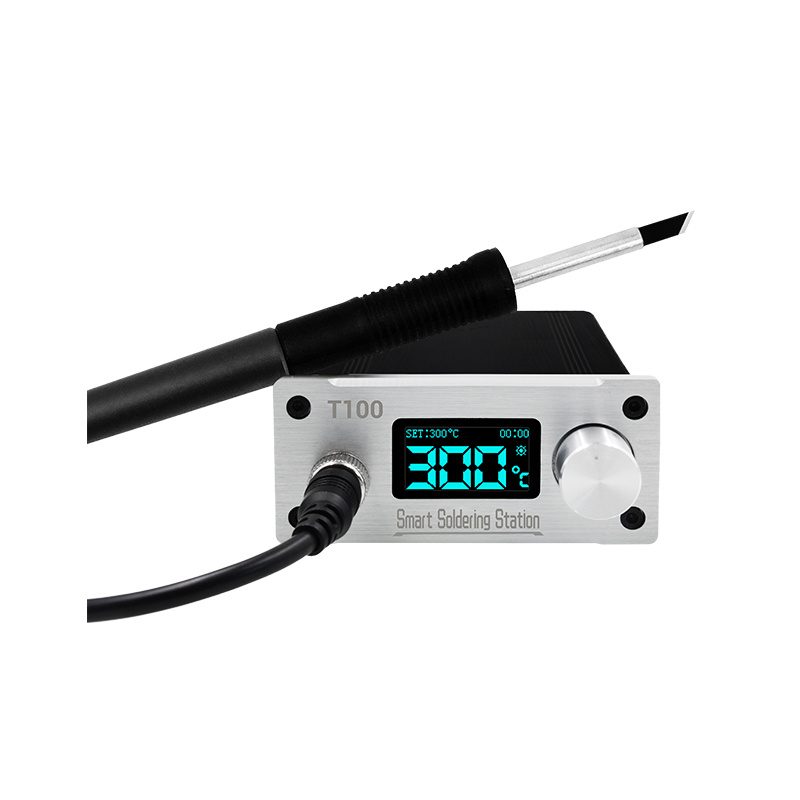
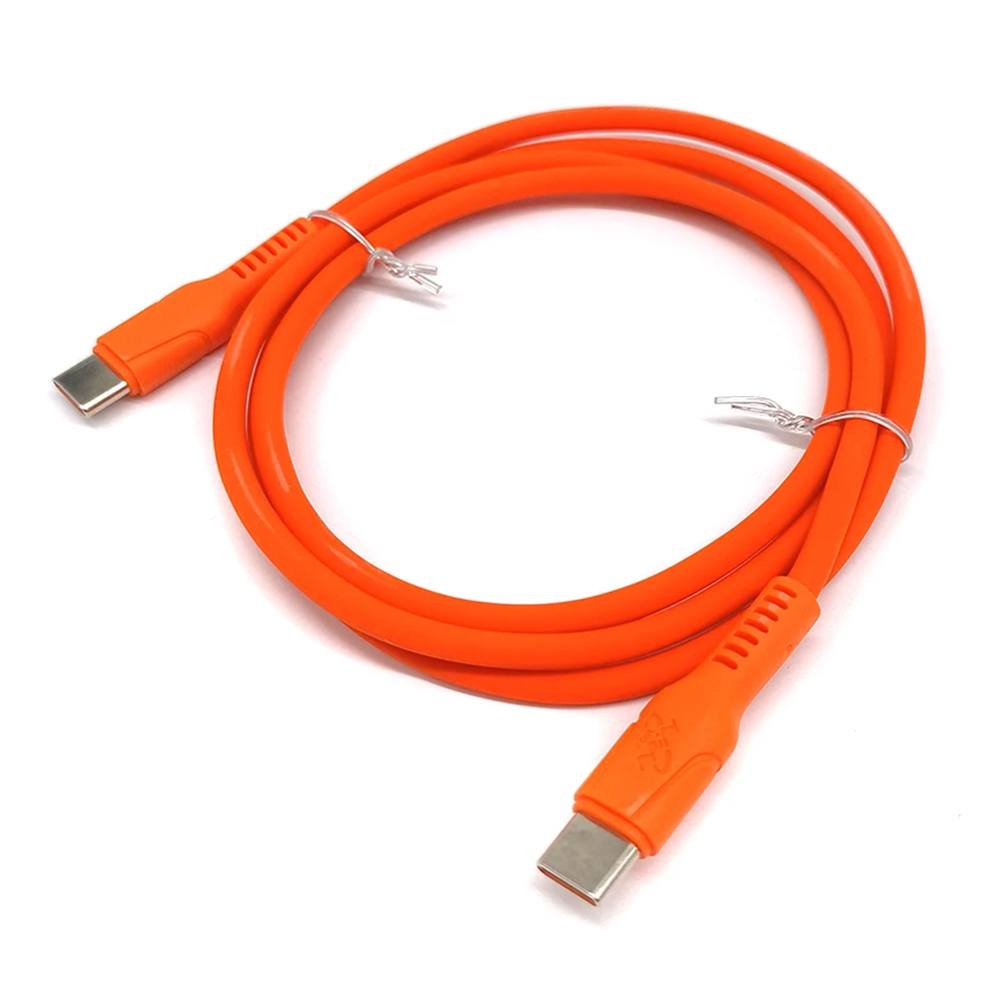
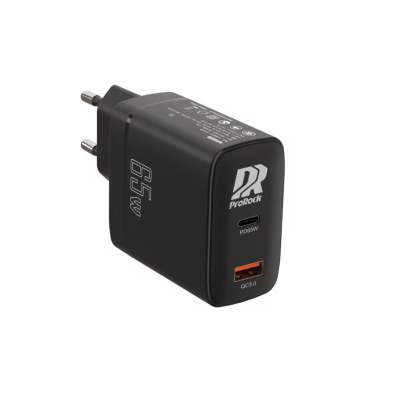
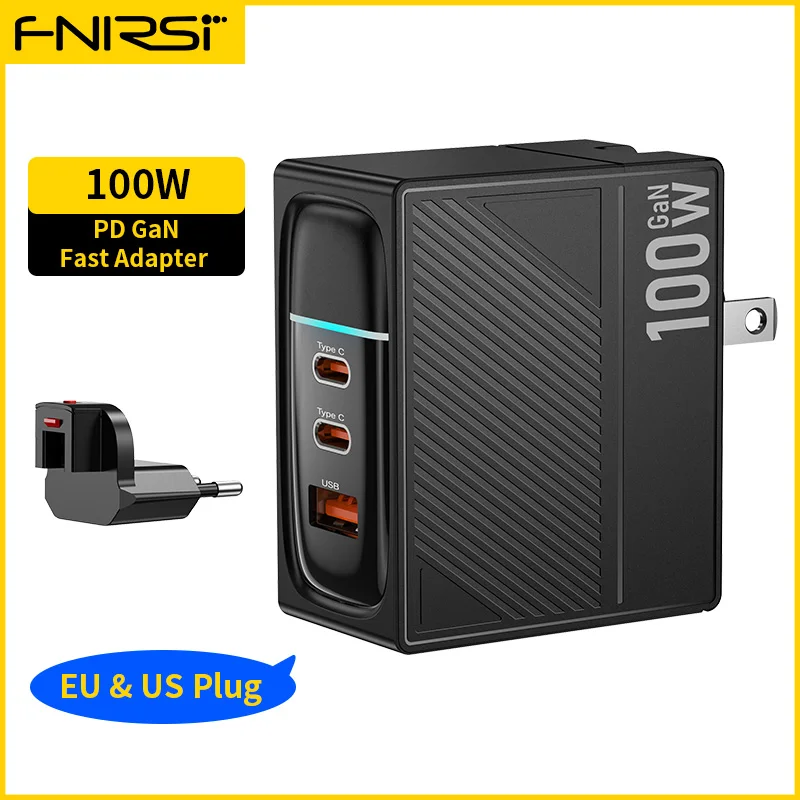
Power Supply for the Iron
ProRock 7075 Aluminium Screws

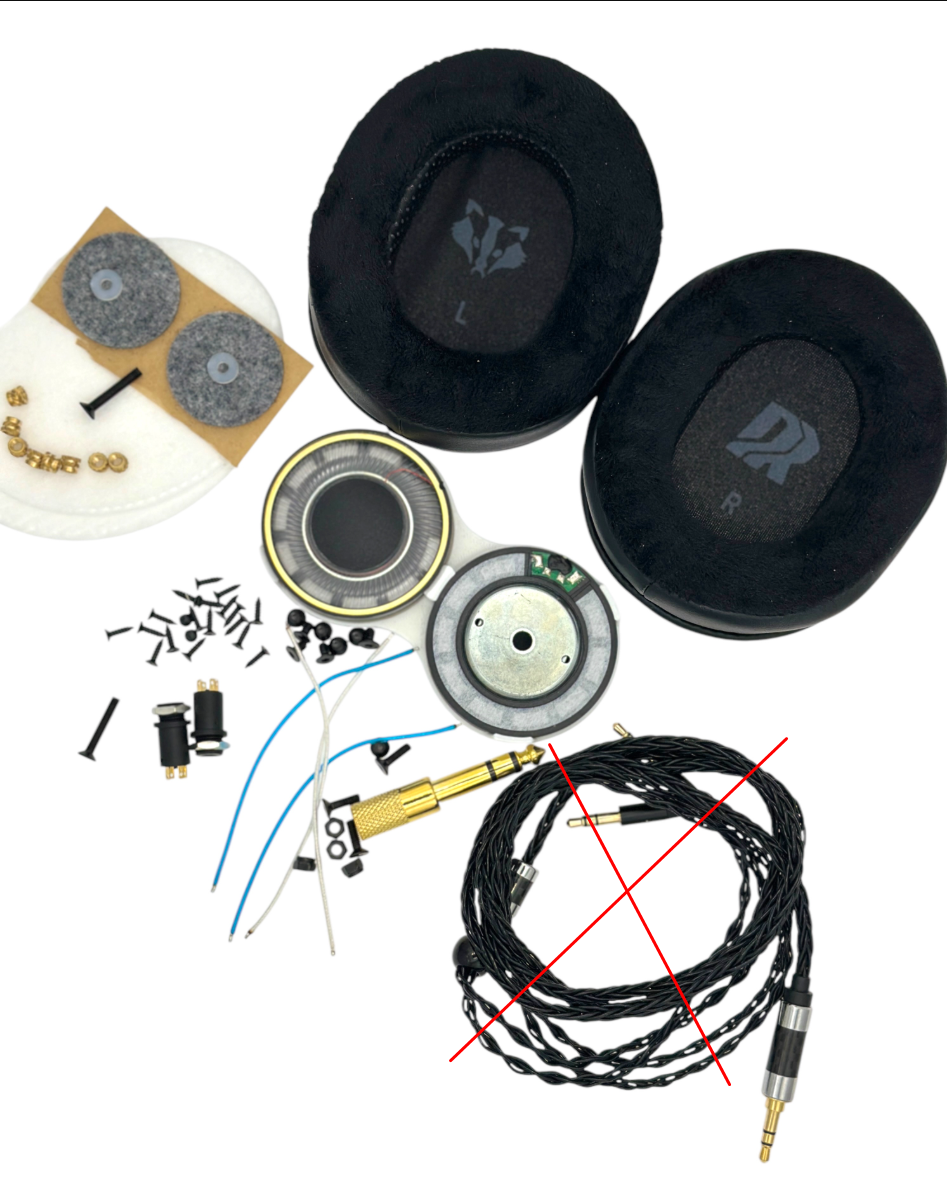
Badger Sound Forge Component Kit
Available in three variants – differing only in the included audio cable:
.webp)
.webp)
Audio Cables Separately
Cables also available separately – if you want a spare or a different colour:
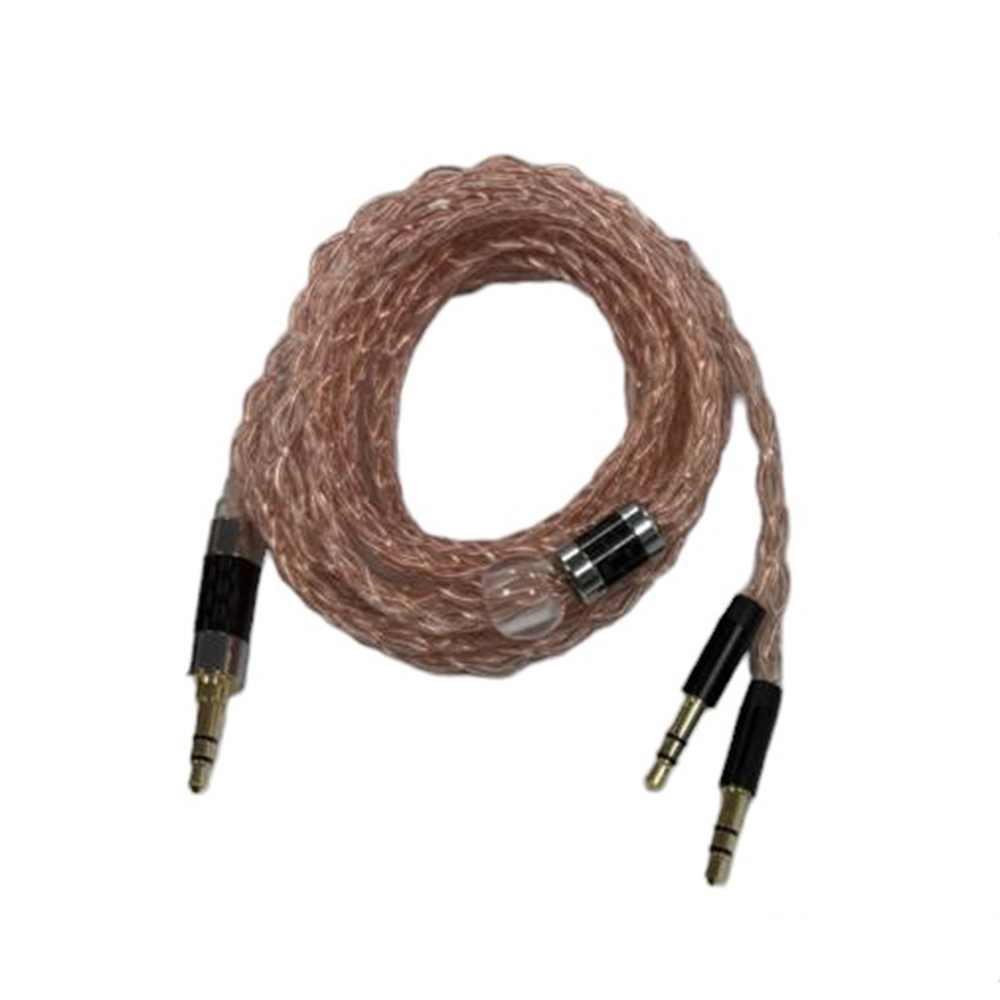 ProRock Headphone Cable 3.5 mm 6N OCC Braided – Transparent6N copper + silver-plated, 3.5 mm stereo jack, male-to-maleView →
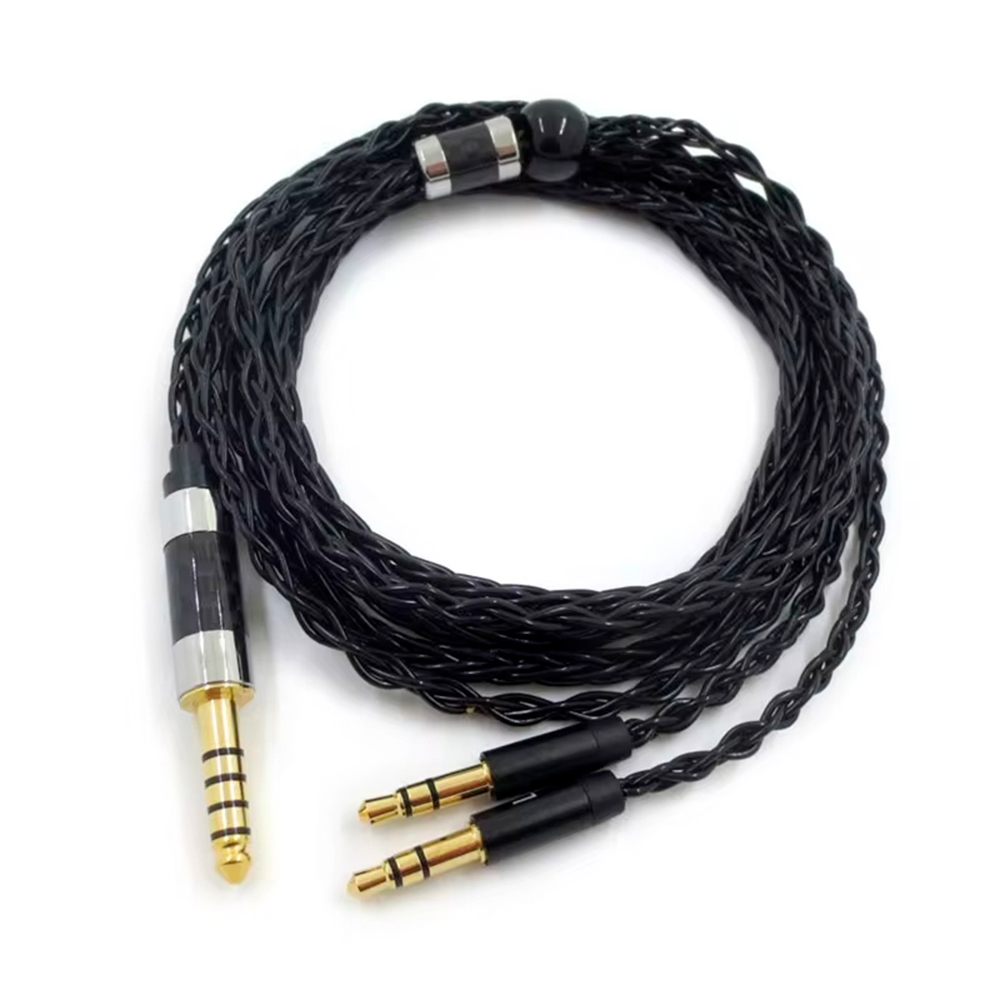 ProRock Headphone Cable 3.5 mm 6N OCC Braided – Black6N copper + silver-plated, 3.5 mm stereo jack, male-to-maleView →
STL files and the full illustrated assembly manual are sent to the buyer after order placement.